ZAPIER INTEGRATION

- Lead management automation
- Marketing automation
- Substantial time-savings
- Increase customer service levels
- Business process automation
- And more...

A Simple Zapier Integration Scenario
Automatically create contacts in your TriSys Recruitment Software database as soon as your website contact form is completed by a website visitor.
No programming experience required (therefore a no-code integration)
When it comes to digital advertising, the ad itself is only half the battle. Good creative matters, but what comes next is just as important—if not more.
Having someone fill out a form from your website is a huge win! Next though, you need to make sure their details make it to your customer relationship management (CRM) platform. You could do this manually, but that's a huge time commitment. Not to mention error-prone. Instead, you can use Zapier's TriSys App integration to send your leads directly to your TriSys Recruitment CRM.
Here's how to add clients &/or candidates directly from your website directly into your TriSys database:
Before you get started
Before you build your Zap, you'll need admin access for the website page you want to connect, and your TriSys credentials to connect to your cloud CRM database.
How to add contacts from your website to TriSys
Zapier lets you create automated workflows called Zaps, which send your information from one app to another. In this case, we're transferring contact form information from your website over to TriSys. You can create your own Zap from scratch, but we also offer quick templates to get you started.
You'll need to create a Zapier account if you don't already have one. Then, follow the directions below to set up your Zap.
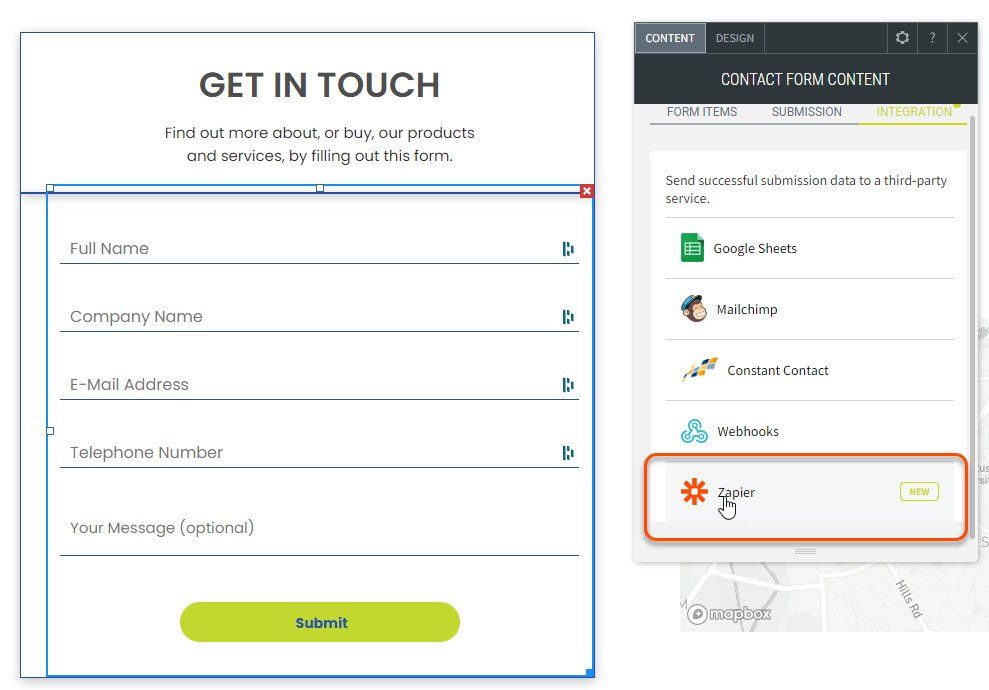
Edit Website Form
Edit the contact form on your website designer, and click it to expose the available actions for form submission. You should have an integrations tab with a list of available destinations. Choose Zapier:
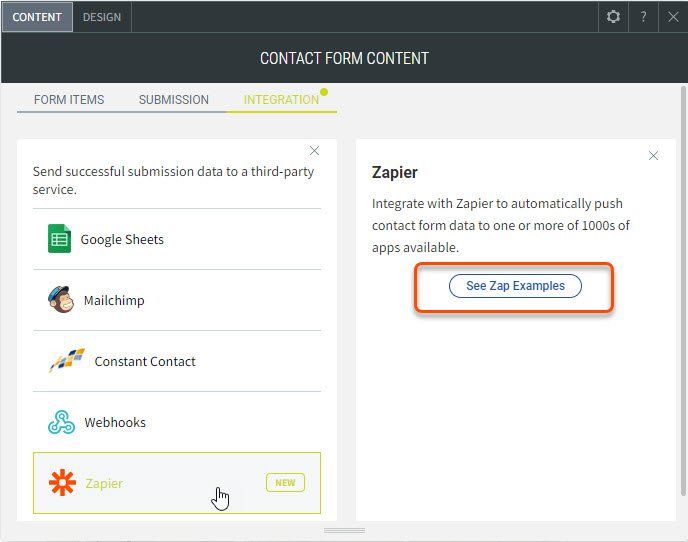
Connect Form to Zapier
Clicking on Zapier should expose information about connecting. Choose See Zap Examples:
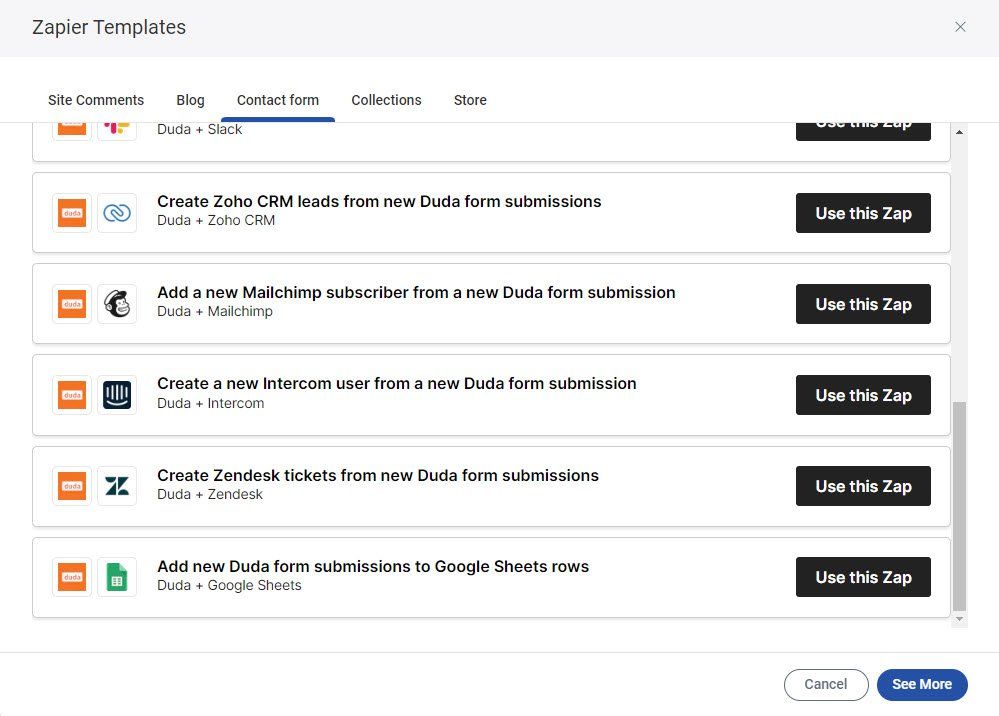
Zapier Templates
You should be able to see a range of Zapier templates which can be connected to your contact form. One of these should be TriSys Recruitment Software, however if this is not available, choose See More:
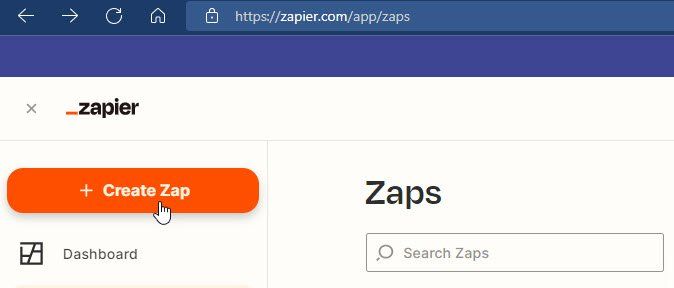
Create Zap
When you are redirected to Zapier, and you are logged in, choose Create Zap:
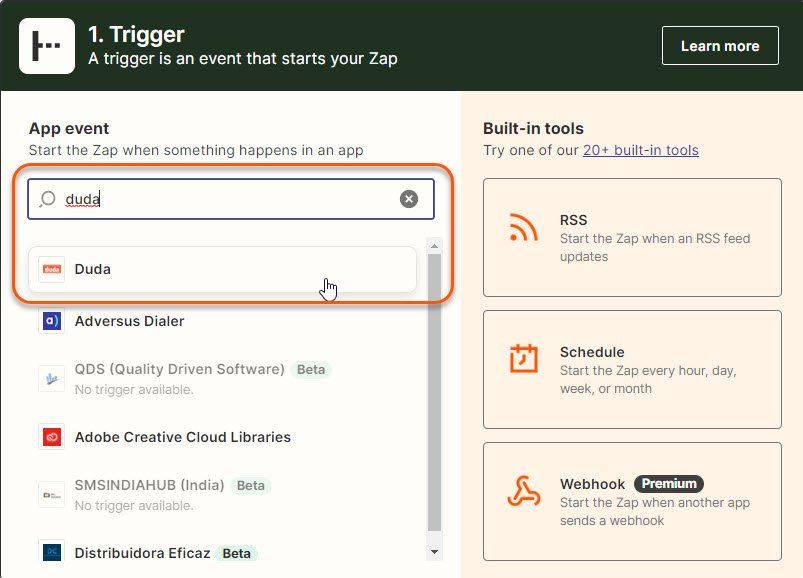
Select Website Builder
Type the name of your website builder (Duda, which is selected below, is a common platform used in numerous website builders such as TriSys Platformix). Select this:
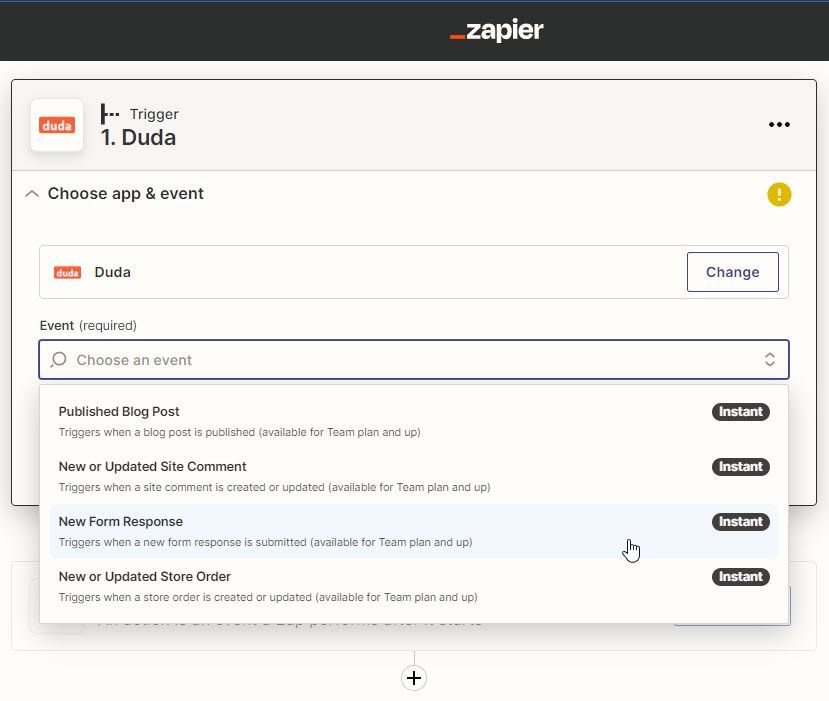
Choose app & event
Choose the New Form Response event:
Continue Confirmation
Having chosen the New Form Response option, click Continue:

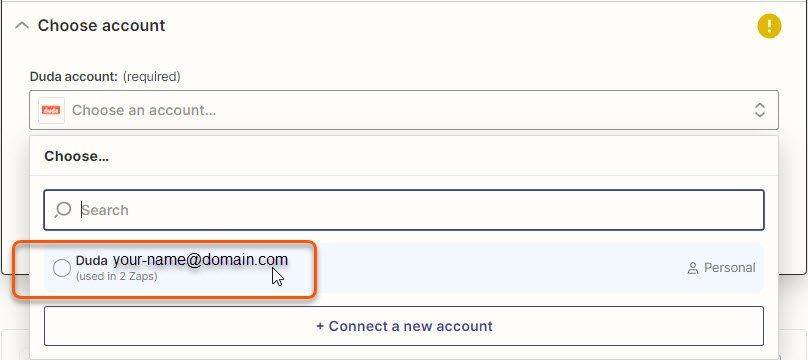
Choose Website Designer Account
Choose your account, or connect a new account:
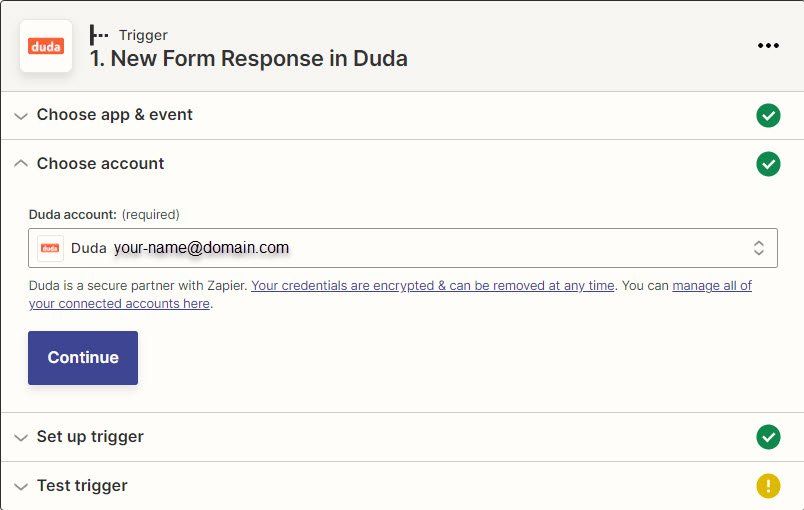
Continue after account choice
Having chosen your website builder account, press the Continue button:
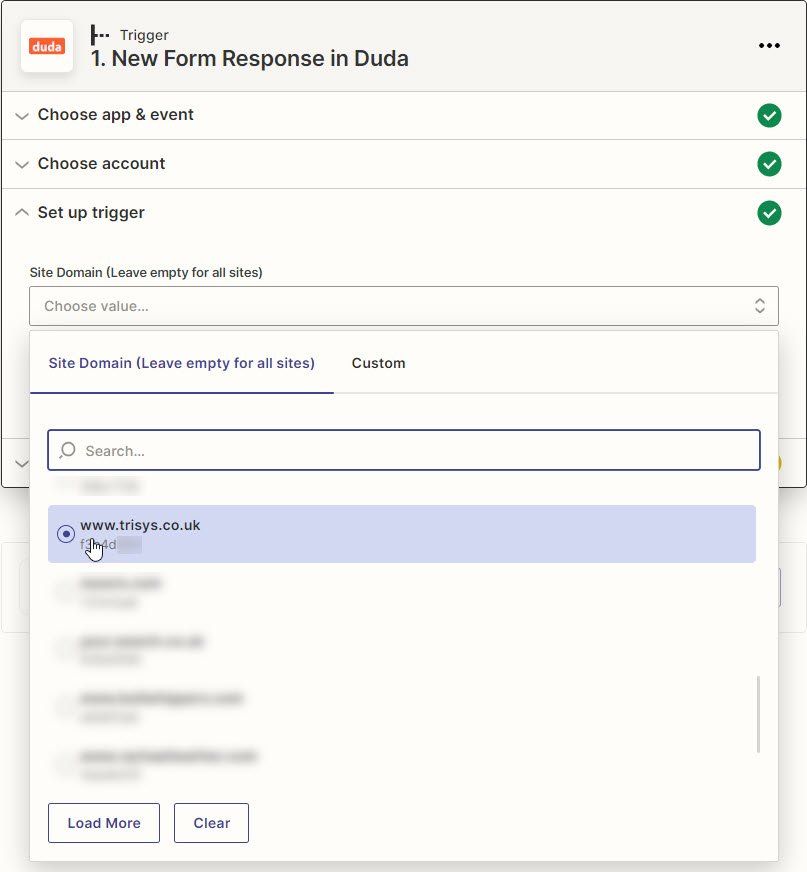
Choose Website
Your website builder account may have many websites under your control, hence choose the website you wish to connect to TriSys:
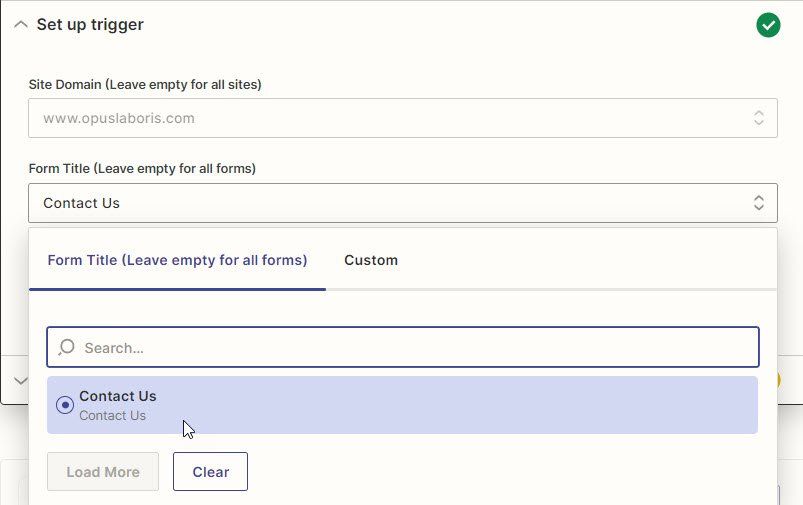
Choose Web Form
Having chosen the website domain, choose the form containing the data you wish to send to TriSys:
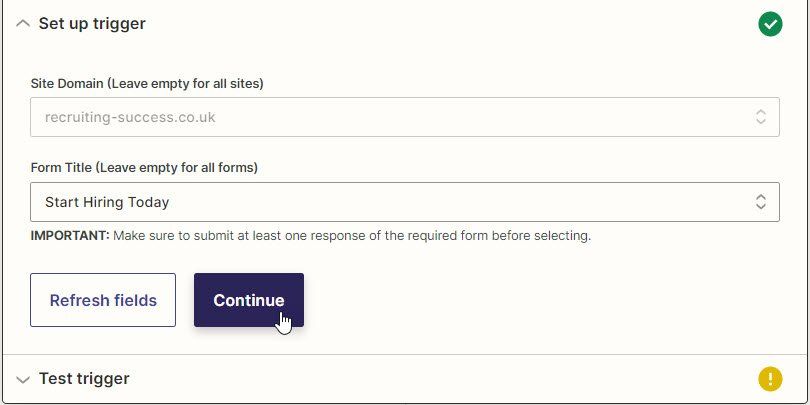
Chosen Form
Having chosen the form containing the data you wish to send to TriSys, now click Continue:
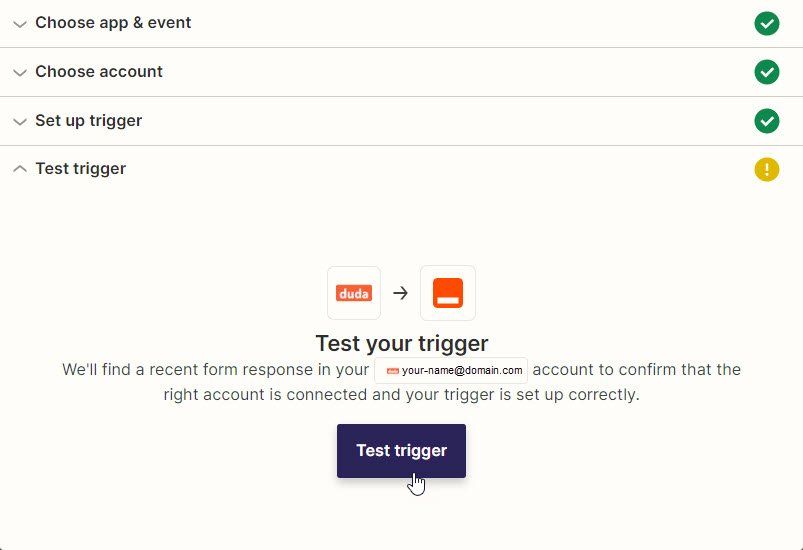
Test Trigger
Now that the contact form has been setup as the trigger, this can now be tested using historic data using the Test trigger button:
Form Response Confirmation
Your website builder will now pull this historic data into the trigger to confirm that data is passing through the various stages. Press Continue:

Select TriSys Recruitment Software App
Having configured the contact form on your website as the trigger, you can now choose what action to take by typing in "trisys" and selecting the "TriSys Recruitment Software" Zapier app:

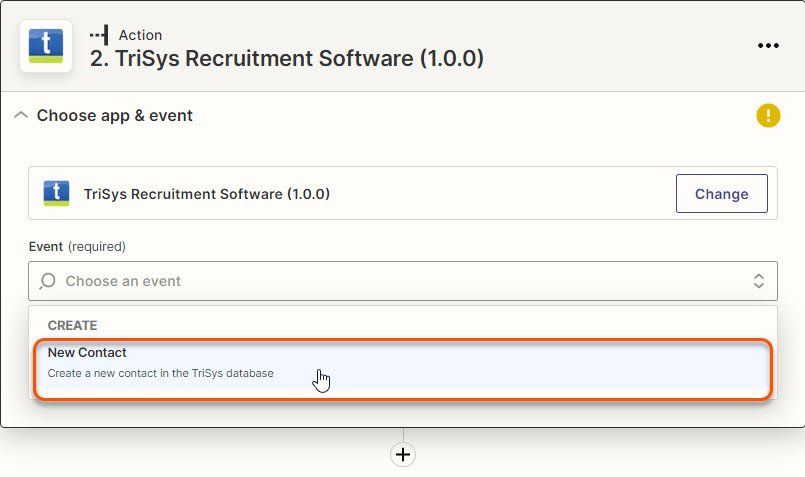
Select TriSys Recruitment Software New Contact Action
Having selected the "TriSys Recruitment Software" Zapier app, choose the New Contact event:
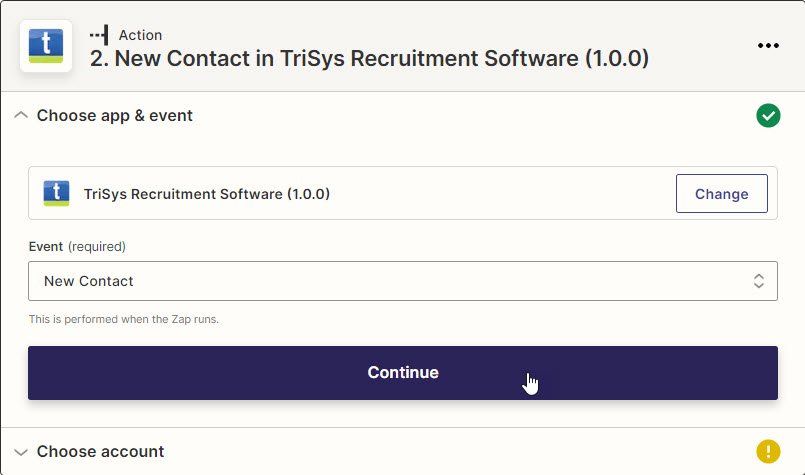
Confirm New Contact Action
Having selected the New Contact event in the "TriSys Recruitment Software" Zapier app, press Continue:
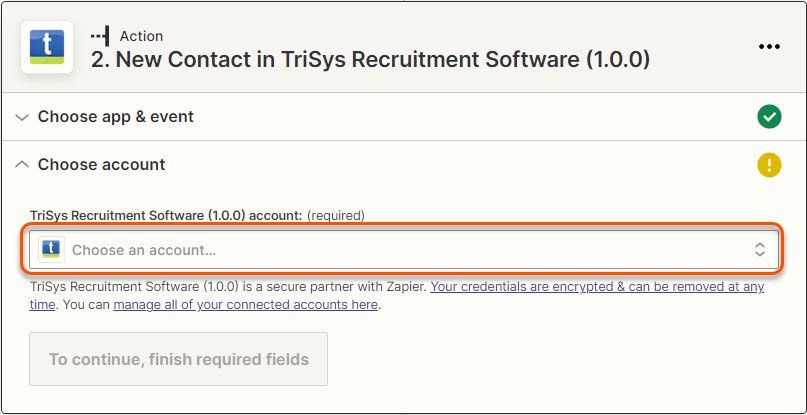
Choose TriSys Account
Having selected the New Contact event in the "TriSys Recruitment Software" Zapier app, now choose which TriSys account to use:
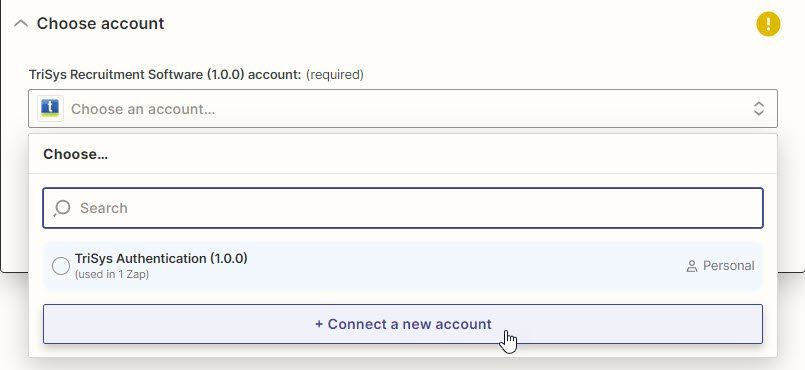
Existing or New TriSys Account
If you have been connecting the TriSys Zapier App to multiple websites, you may already have specified an account for this specific website which can be chosen in this list, however you do not want to re-use a previous connection for the wrong customer, so it is strongly recommended to press the "Connect a new account" button:
Connect a New TriSys Account
Assuming you are connecting to a new account (recommended), then you will now be prompted for your credentials:
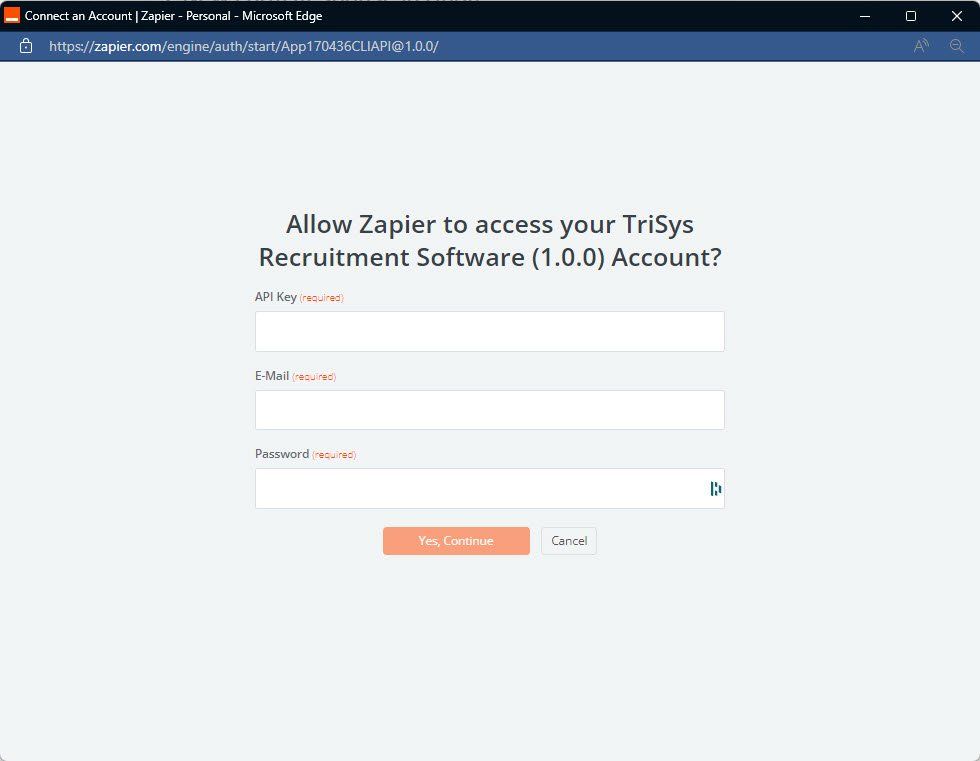
The API Key will be supplied to you by TriSys Business Software. This is a private key which uniquely identifies your cloud platform resources such as databases and files.
The E-Mail and Password are the same as those used to login to TriSys Apex, and these will be validated against the TriSys Web API, using the API Key to generate a secure session key allowing Zapier to send data from your website form into your TriSys database.
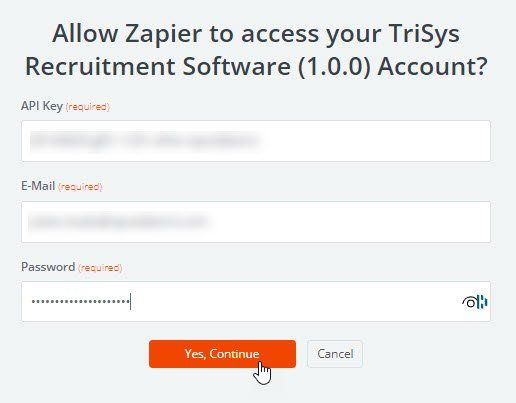
Confirm Credentials
After you have supplied all of the above credentials, press the "Yes, Continue" button:
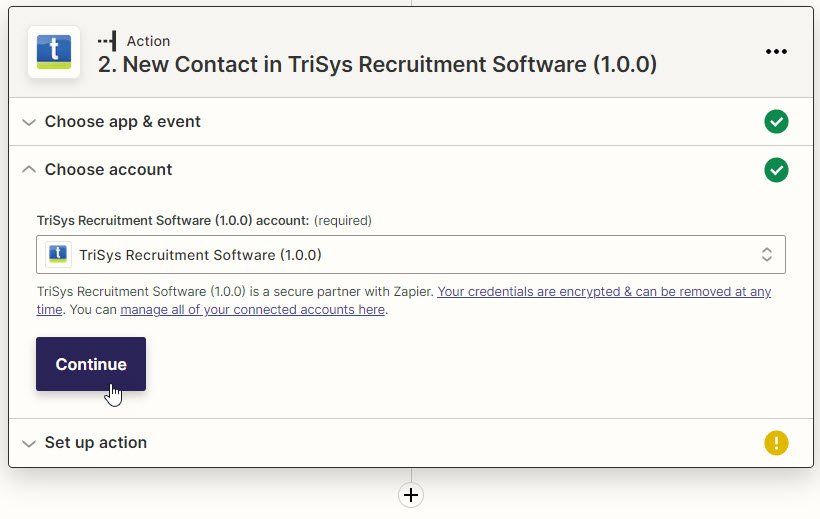
Credentials Confirmed
After you have supplied all of the above credentials, and pressed the "Yes, Continue" button, Zapier will then login to TriSys and validate your credentials plus API Key to confirm that you are allowed access to your TriSys cloud data. Press the "Continue" button:
Set up action
After you have been authenticated, you will now map the fields on your contact form with the available fields in the TriSys database:
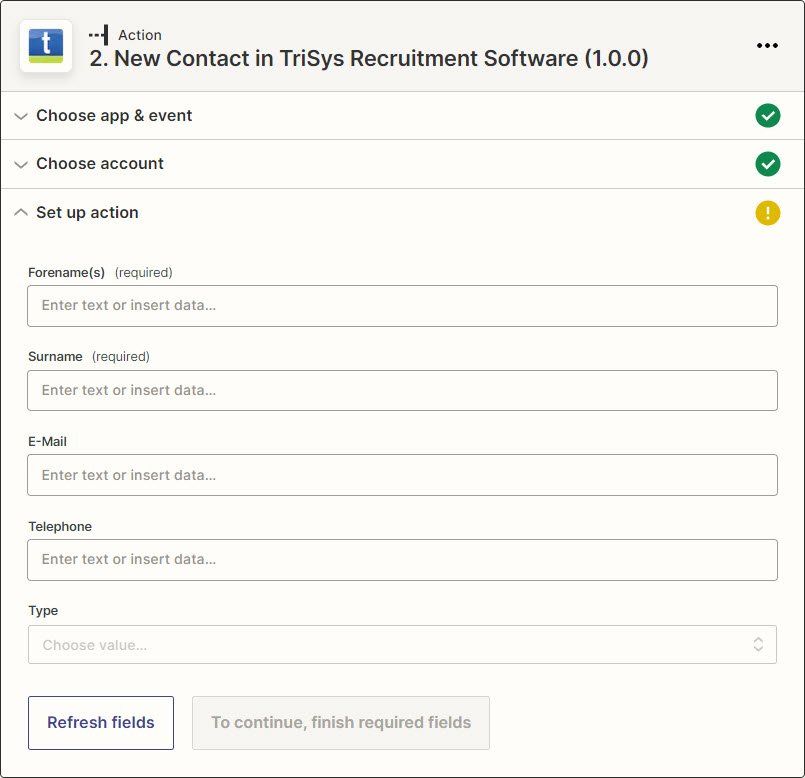
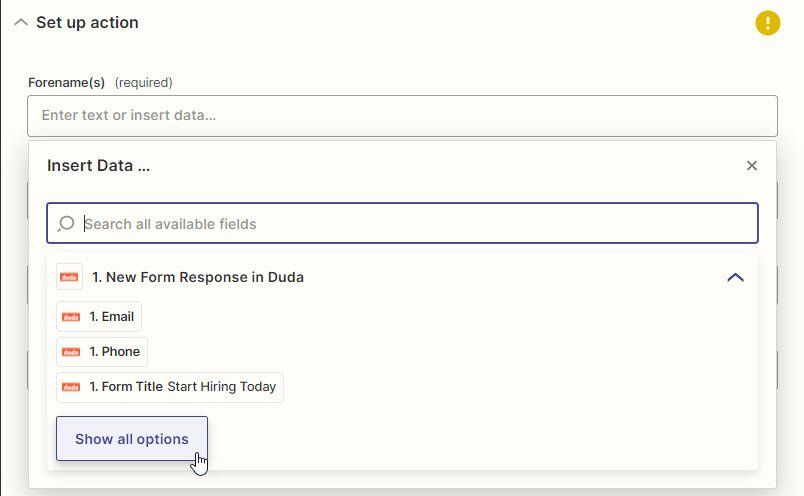
Map Fields
For each field in TriSys, you must match this with a field on your contact form. Simply click inside each field to display a drop down list of all available fields. Use the "Show all options" button to display every field, or combination of fields and labels:
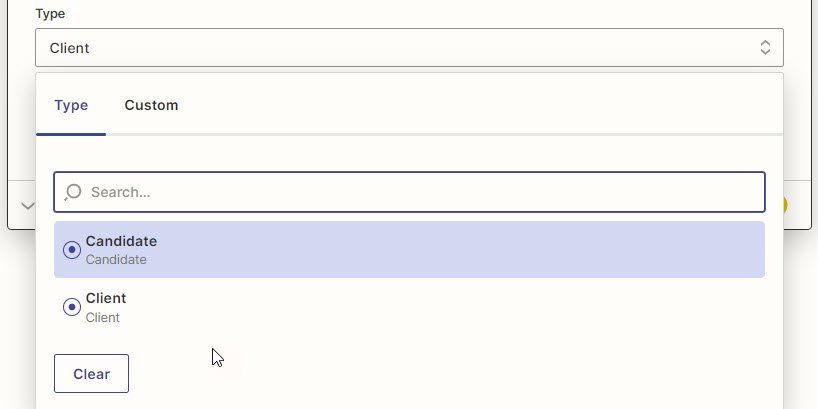
Client or Candidate
You may have different types of contact form on your website, for example a different form for candidates than for clients. You can define which type of contact to process by choosing from the list of available options:
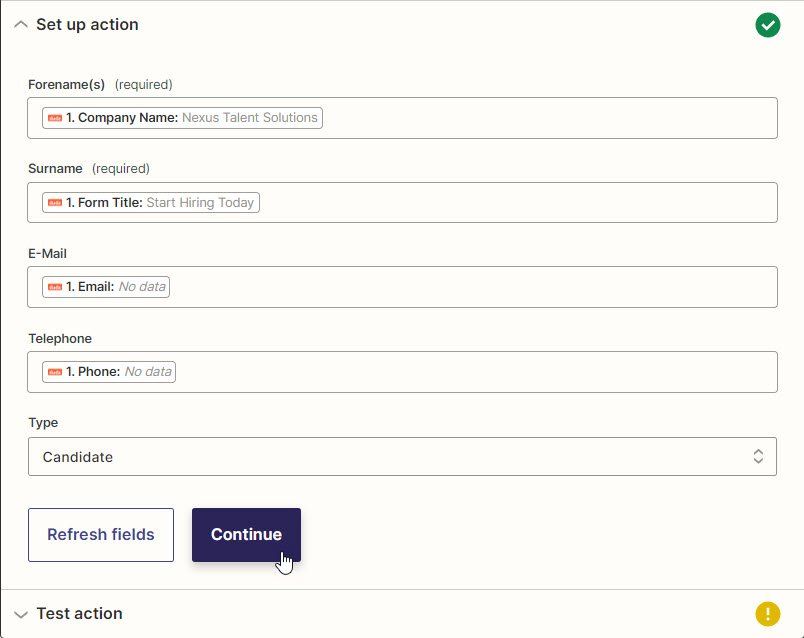
After mapping fields
After assigning all fields on your contact form to fields in TriSys, and choosing the contact type, press "Continue":
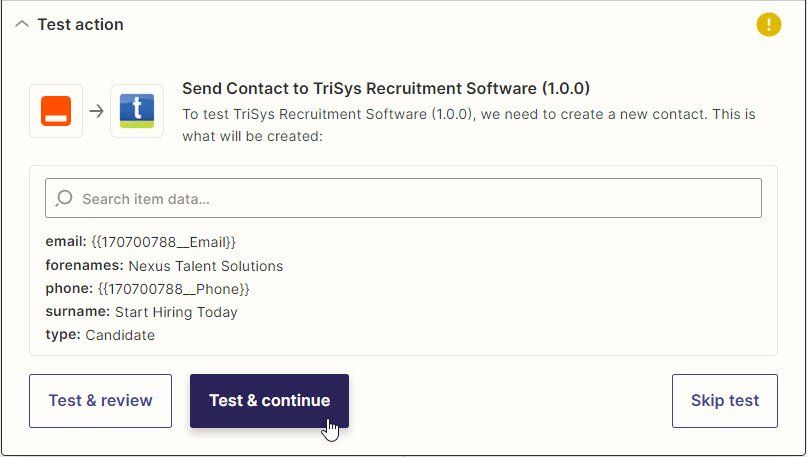
Testing field mappings
You should now be able to see how the previous submitted form data will map into TriSys. Press "Test & continue":
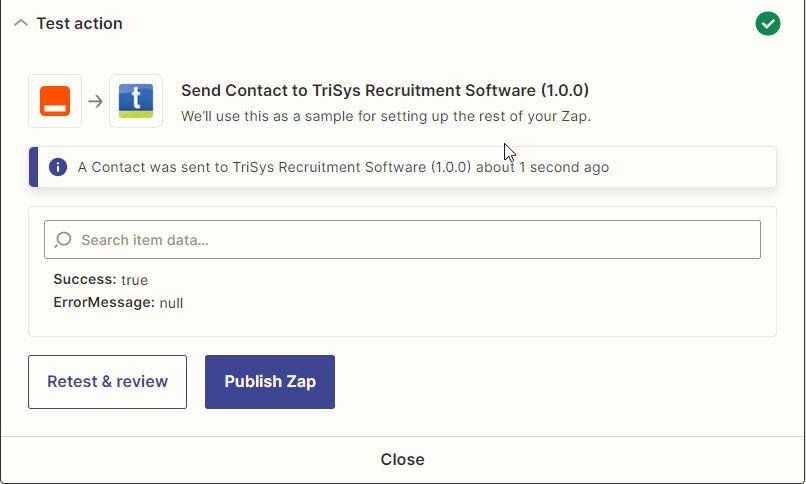
After testing action
You should now get confirmation that the test data has been written to TriSys. You should log into TriSys and verify that this data is indeed in your database.
If it is, then you can publish this Zap, effectively making it live on your website by pressing the "Publish Zap" button:
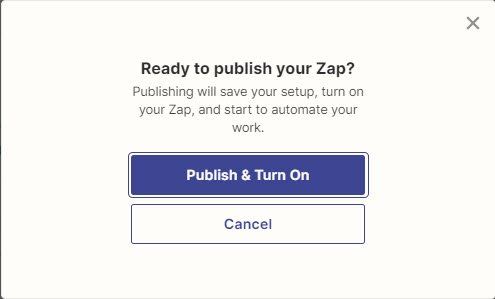
Publish Zap
This prompt is your final warning that publication will start harvesting contacts into your TriSys database based upon the fields you have mapped to your website contact form.
If you are happy to proceed, then press the "Publish & Turn On" button:
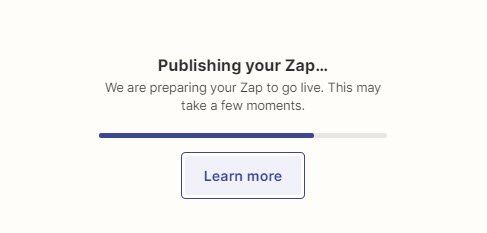
Publishing Zap
The publication may take a few seconds, during which time you are informed of the progress:
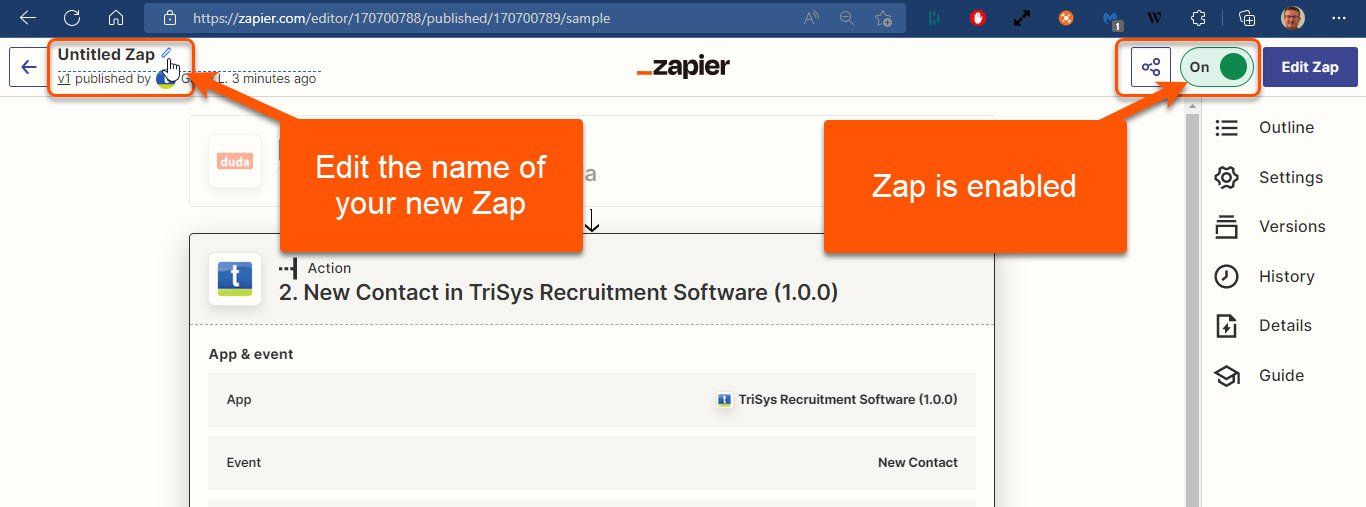
After publishing action
Once the Zap is published, you will see this form.
It is recommended that you rename this Zap with the name of the customer, website and login to make it easy to see this in the list of all Zap's.
To turn this Zap off i.e. to stop it processing form submissions, simply uncheck the On check box.
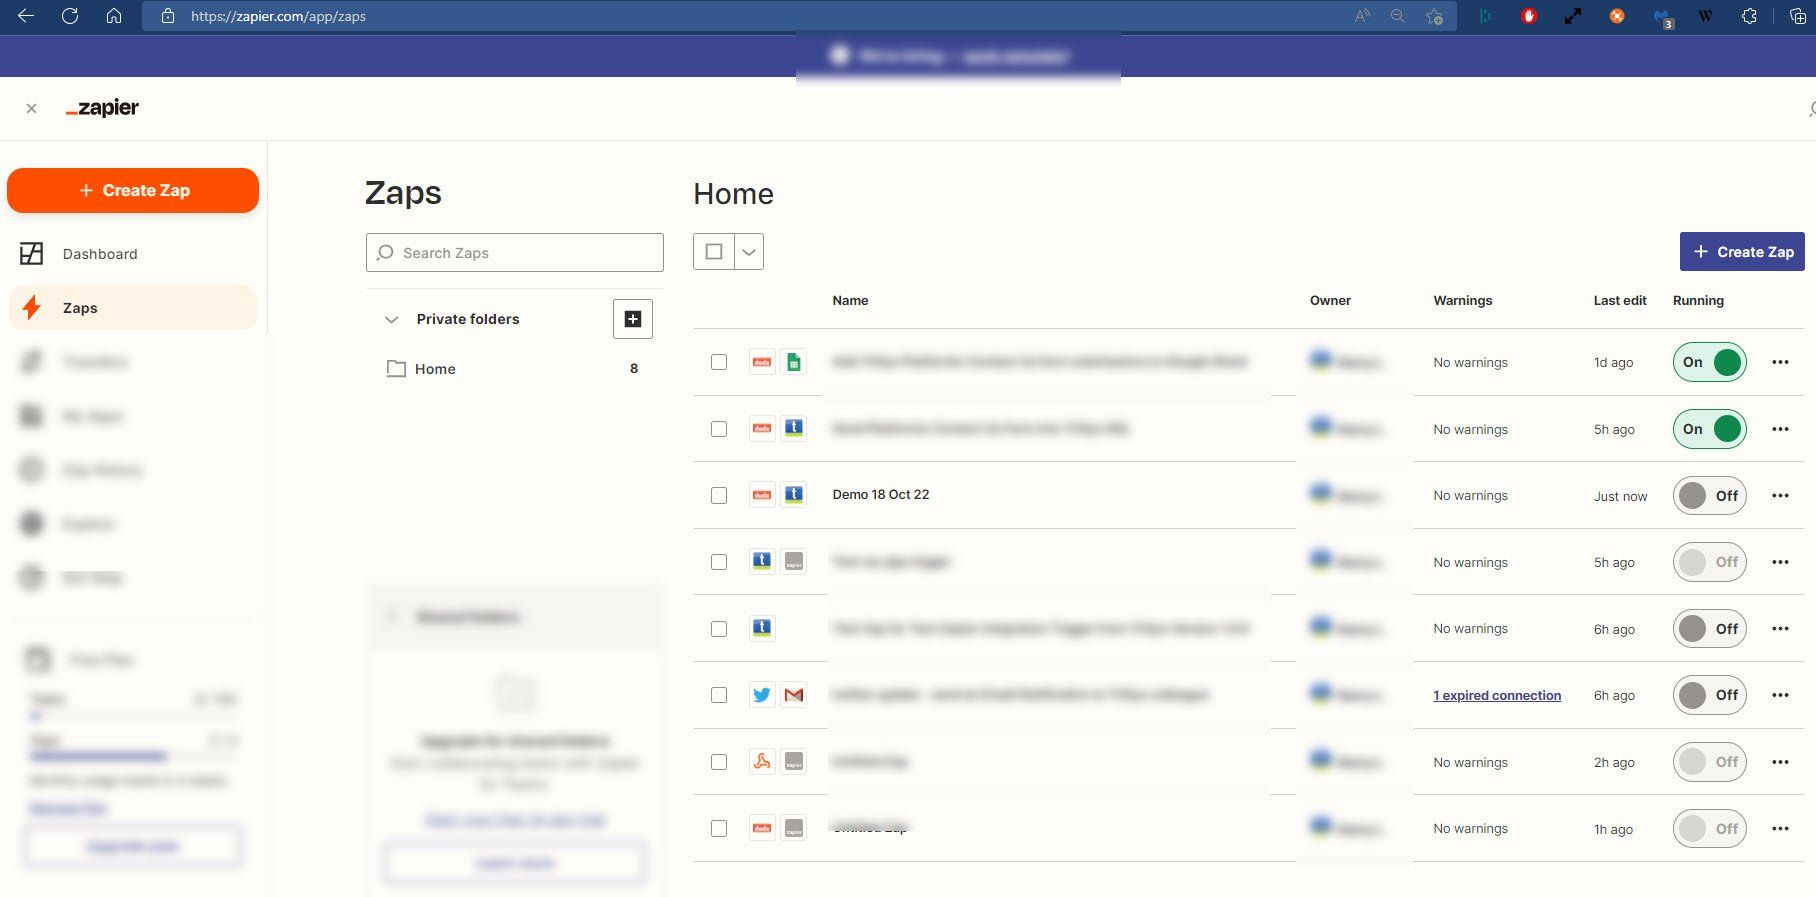
My Zaps
All of your 'Zaps' are shown in your Zapier dashboard. By clever naming of each Zap, you are able to easily identify each one and turn then on and off without having to drill down into each one to identify which website, or credentials, or key, or fields have been configured.
Additional Information
Zapier Integration Datasheet
Read the datasheet
Request Information
Call Us